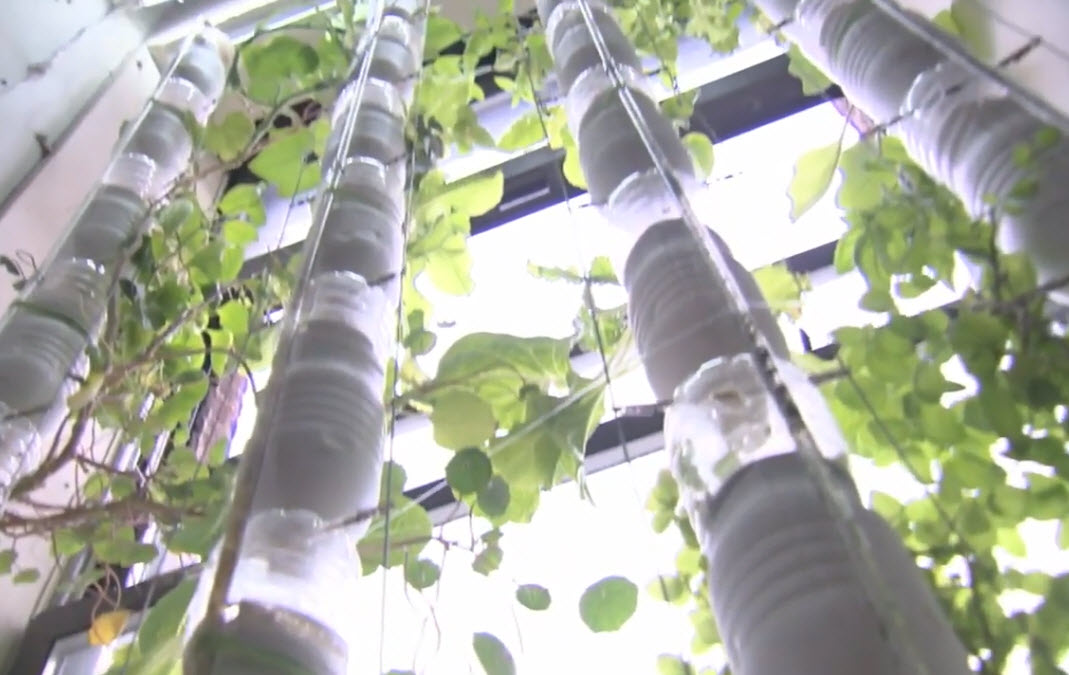
How to Build Your Own Bottle Hydroponics System DIY
by Kevin
Did you ever think of building a hydroponic system that was almost free? I bet you did, but didn't think it was possible. Well, a bottle hydroponics system will not be a very effective one, but it's nearly free, so if you're into experimenting with hydroponics, it's a good way to start. Find out how to build a bottle hydroponics system in the following article.
How to Build Your Own Bottle Hydroponics System DIY

Although it might sound a bit silly at first, building your own bottle hydroponics system is a good way to start off your career as a gardener that wants to grow soilless plants. The advantages of building one are quite obvious: it will be one of the very cheap hydroponic systems you can try as well as being one of the smallest. These two factors can really come in handy for the starting gardener, who doesn't dispose of a lot of space or money to spend on his new hobby. Many upcoming enthusiastic hydroponic gardeners are students living in dorms or in smaller quarters, so space is truly a problem for them and I bet they have other ways to "invest" their money at that age and not spend hundreds of dollars on some hydroponics kit that might not even work properly.
You can purchase some of the components from your local store (Home Depot, Walmart, etc) or order them online from a recommended hydroponics store.
Obviously, the first thing you'll want to do is get at least a decent 0.5-1 gallon bottle to work with. Each bottle will sustain just one plant, so that size should be enough to handle it. Some people will rather use a 5 gallon bucket and grow 5-6 plants in it at the same time, but that takes up a lot more room. If you grow 5 plants in a bucket system, you will take up a lot more space than if you grow 5 plants in 5 different bottle hydroponics systems.
The bottleneck is extremely important and you'll have to make adjustments to it in case your plant doesn't fit in there right. You could add an extra PVC pipe end over it for stability, or cut it wider in case you can't get the plant's roots through the hole and into the bottle. Some people simply prefer to cut the bottle's top part off, then use a small piece of Styrofoam floating directly on the nutrient solution you'll be using.
You can also add growth media to fill the bottle hydroponics system up almost to the top, then fill up the empty spaces with nutrient solution. This will provide stability to the system and it will protect the plant's roots as well as allowing them to expand in a natural direction through the media.
If you have a larger tank at your disposal, there's another way of building a bottle hydroponics system that is somewhat more efficient, although it's more space consuming. You could use the bottles as filters and plant holders and place them inside the basin, which should be filled with nutrient solution and water. You will have to put some holes in the bottom of the bottles, to allow aeration and the flow of nutrients freely.
The advantage of using such small hydroponic growing systems is that you can easily find a sunny spot for it, so you won't need additional hydroponic lighting systems to keep your plants growing. This saves you a lot of money, since the most expensive part of a home hydroponic system is usually the light. Except for the nutrients and the growth media, which don't cost very much anyway, this bottle hydroponics system is free to build and use. Admittedly, the results won't be spectacular, you can't expect a 1 gallon bottle to be as effective as a NFT or drip system that's specifically designed for growing plants in. But still, it's a good way to fire up your career as a hydroponic gardener and get some hands on experience.
Thoughts on "How to Build Your Own Bottle Hydroponics System DIY"
 |
 |
 |
 |
Hydroponics Tips